Rapid Video Game Prototyping
Playable video game prototype in 1 week or less
In game development, there are few things more exciting than building a working prototype in just a few days. When everything falls into place, your team is in a flow state, every day brings progress, and by the end of the week, you have something playable to show off and build upon.
But the flip side? When momentum is lost, the process drags on, and weeks or months later, you barely have anything to show for it.
After years of working on prototypes for indie and professional teams as well as solo projects, I've learned that the key to success lies in a few fundamental steps. These steps help maintain excitement, build momentum, and ensure you have a playable prototype by the end of the week.
There are two main reasons you want to get to a working prototype as quickly as possible:
Now, let's dive into the strategies that will help you hit the ground running and have a playable prototype in 1 week or less.
Playtest at least once every day, if not multiple times a day. We do this for a few key reasons.
One of the biggest mistakes teams make is focusing too much on the underlying systems instead of the game itself. After weeks of development, you might have an amazing game engine and systems... but no actual playable game.
Instead, focus on building the core game loop first. The key is to get something that feels like a game, not just a technical achievement. Your game doesn't need to be polished in week one - it just needs to work.
A simple but highly effective way to give your project momentum is to set up the three basic game states every game has. You can then make three game UI screens, one for each of these states.
Nothing needs to be super polished here, it's perfectly fine to use placeholder graphics and text. It may seem trivial, but just having this basic UI flow in place makes the game feel real.
Once you have the basic flow between game states, start working on the skeleton code for your game. This means setting up your main classes (e.g., GameManager, SoundManager) and defining how they interact. Even if the gameplay isn't implemented yet, this gives everyone on the team a shared framework to build upon.
For example, if you're making a role-playing game, this might include code for loading new zones, interacting with NPCs, and encountering enemies. If you're making a puzzle game, it might include loading levels from a configuration file and handling basic interactions.
The goal here is to establish the foundation of the game, not polish it.
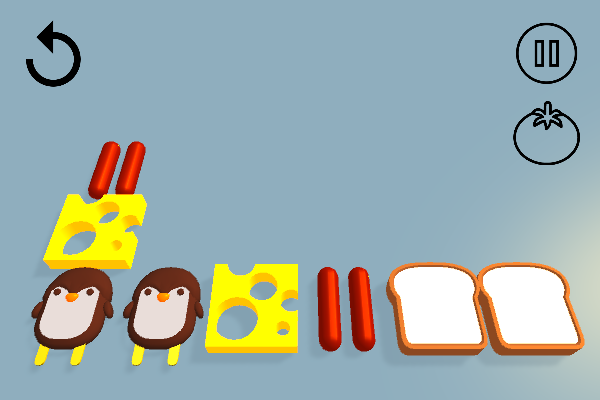
Now that the skeleton code is in place, it's time to build the core game loop. This is the heart of your prototype and the most critical aspect to get right. Whether it's a first-person shooter, a puzzle game, or an RPG, focus on the primary actions the player will repeat over and over.
Don't get bogged down in secondary systems like inventory or save features unless they are critical to the core loop.
Now you might be thinking that art doesn't really matter to prove out your gameplay, and you would be right!
Hear me out though. Looking at cool stuff is just motivating plain and simple! Motivation translates into team members working with more focus and excitement, both great for your prototype project!
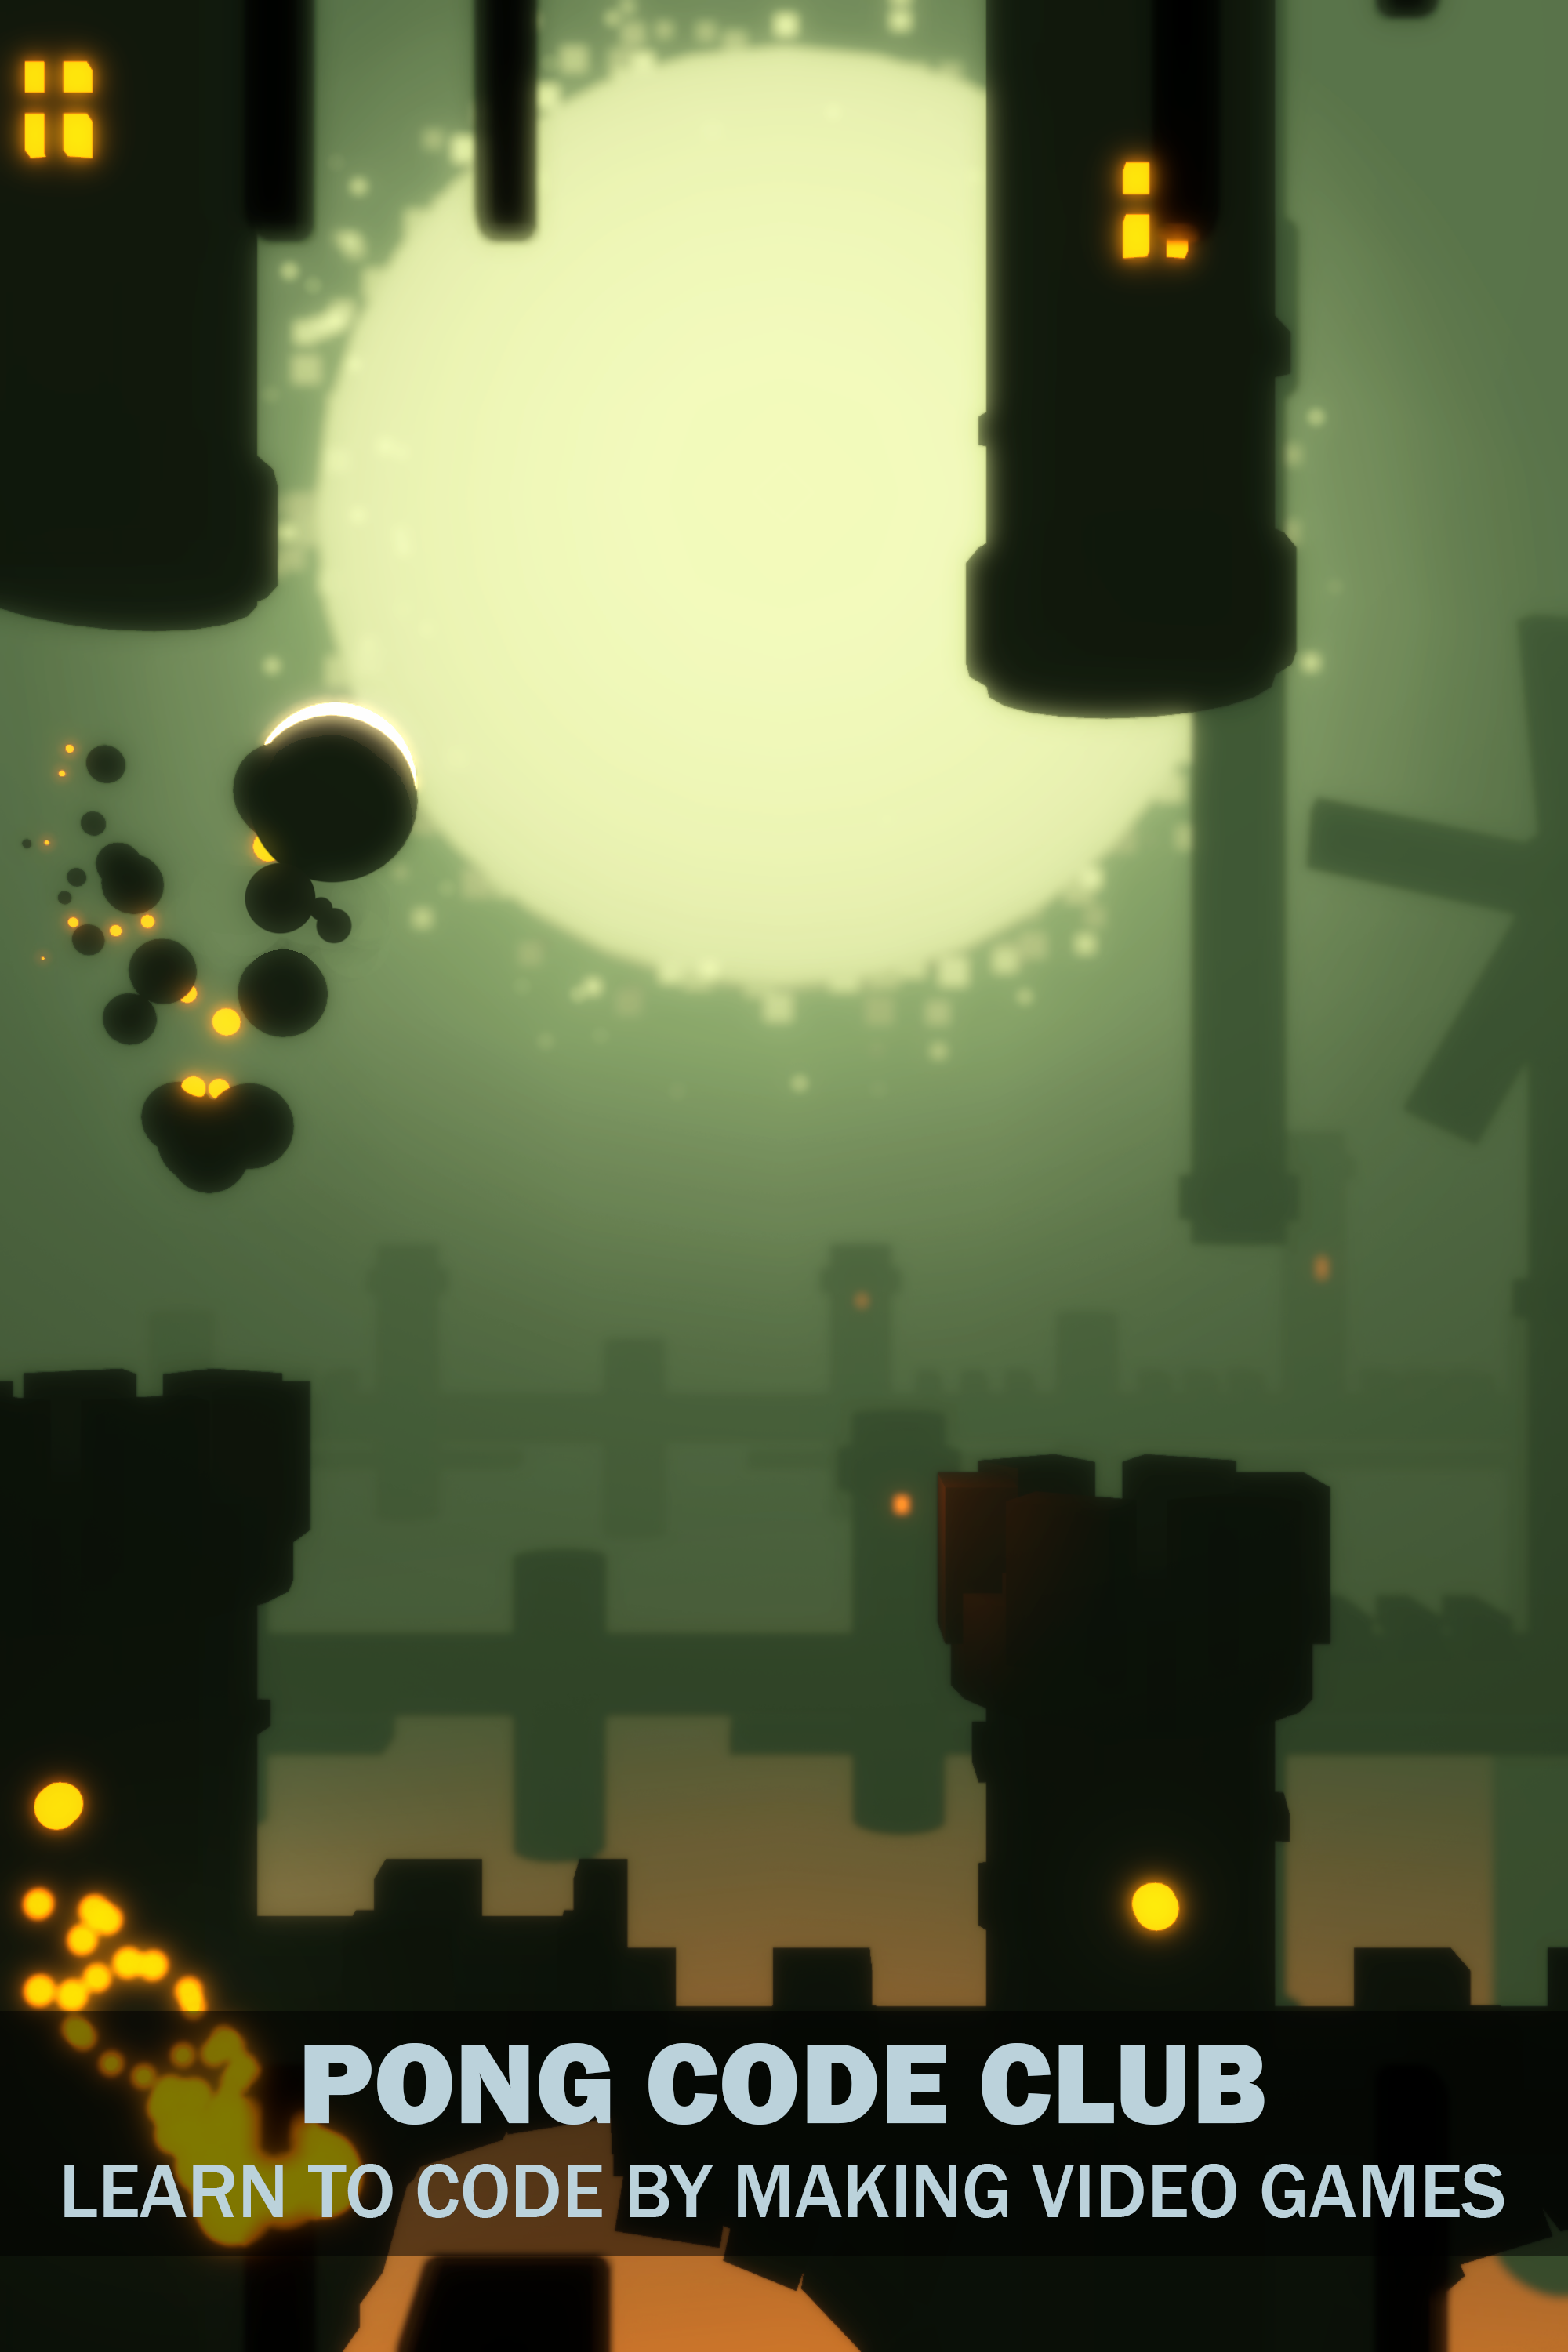
Now, when I say good art, I don't mean final polished art. You literally can make a game of cubes and spheres look amazing with well placed lighting, fog and post effects.
Here's a list of things that are super fast to do but really add a ton of visual fidelity to your game!
Just like visuals, sound is an often overlooked but vital part of making a prototype feel complete. Adding simple background music, sound effects for UI interactions, and basic in-game sounds can make your prototype feel more polished and immersive.
Finally, integrate everything—the core loop, the placeholder art, and the sound effects. Then, spend time testing to make sure it all works together seamlessly. By the end of a week, you should have a playable prototype that captures the essence of your game idea.
Let me share a quick story.
My team and I, consisting of 3 total developers, worked on a quiz-racing game where players would answer questions by running through doors corresponding to different answers.
We got the assignment on a Friday and started work on the following Monday. By mid week we had the core loop working with basic multiplayer. When Friday arrived, we had incorporated the art and audio work and had a playable version ready to share with the larger team.!
The following week, after testing with product owners, we got the green light to continue development to a final game, and got approval to add 9 more full time members to the team for support!
The only difference between this successful prototype and prototypes in the past that fell apart was that we focused on the 8 steps mentioned above. You can achieve the same results for yourself as well, in both your team and solo prototype projects!
This kind of momentum only happens when you focus on getting the core game loop up and running as quickly as possible. With a solid foundation, everything else becomes easier, and the entire team stays motivated.
The goal of a prototype isn't perfection. It's playability. You want something that excites people and demonstrates the core of your game idea. Once you have that, you can make an informed decision about whether to continue development or pivot to something else.
By following these steps, you can get a working prototype in just 1 week, all while keeping your team energized and in a state of flow. So what are you waiting for? Start prototyping today!
Have you had experiences with successful (or not-so-successful) prototypes? I'd love to hear about your process and any tips you'd add! Drop a comment below.